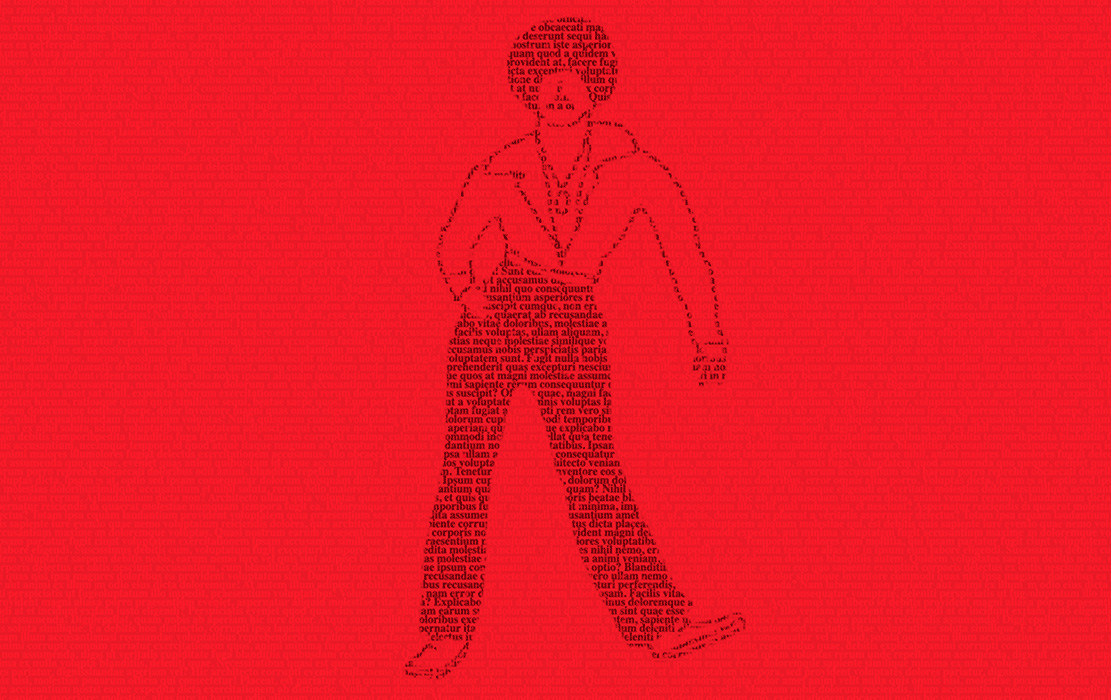
Let’s be honest, it’s hard to go a single day without seeing a meme or GIF. I’ll admit, they’re entertaining and there is nothing quite like your favorite GIF that explains how you feel.
Eventually though, they get a little….boring. It’s time to spice things up! That’s exactly what I set out to do with this challenge.
We need to get a couple things before we can begin:
- A code editor. I’ll be using VS Code.
- A GIF with a transparent or solid white background, preferably transparent though.
Once you have those two things, we’re all set!
Open your code editor and create a new HTML file, I’ll keep it simple and title mine “index.html”
We only need to place two tags inside your <body> to make this work (you could get away with only one), a <section> tag with a <p> tag inside. Like so:
<section>

<p>

</p>

</section>
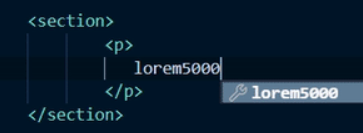
Once you have those two tags in we place, we need to put some text in your paragraph tag. A lot of text. VS Code has Emmet Commands built right into the editor, so, all we need to do is type “lorem5000” + tab to generate all the text we will ever need. 5000 words to be exact.

If you don’t have that option, you can simply copy and paste some lorem text from this lorem generator.
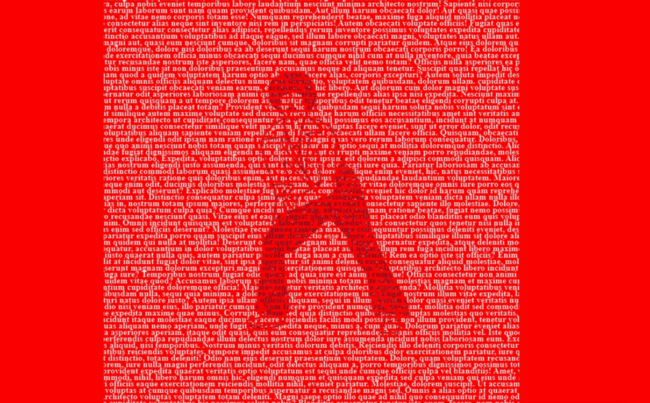
Now we are done with the HTML and it should look similar to this.
Now, I know what you are thinking. “This is just a giant wall of text.” You’re absolutely right. Pretty boring, huh? Well, that’s where our CSS is going to work a little bit of magic and dramatically change what we’re seeing.
Let’s go ahead create our CSS file, “style.css”. Don’t forget to place a link in your index.html <head> to connect our two files.
First, we’ll need to add little bit of styling to our <body>. Removing any padding or margins and set our overflow to hidden, which will remove any scroll bars we might encounter.
body {

margin: 0;

padding: 0;

overflow: hidden;

}
Now we can style our text and start to have some fun. Go ahead and have your GIF nearby, we will need it soon. I will be using this particular GIF. Feel free to use it also.
For our ‘p’ tag, we will need to add some code to our CSS now.
p {

font-size: 13px;

line-height: 10px;

font-weight: 900;

margin: 0;

background:  url(PLACE YOUR GIF URL OR FILE PATH HERE) no-repeat;

}
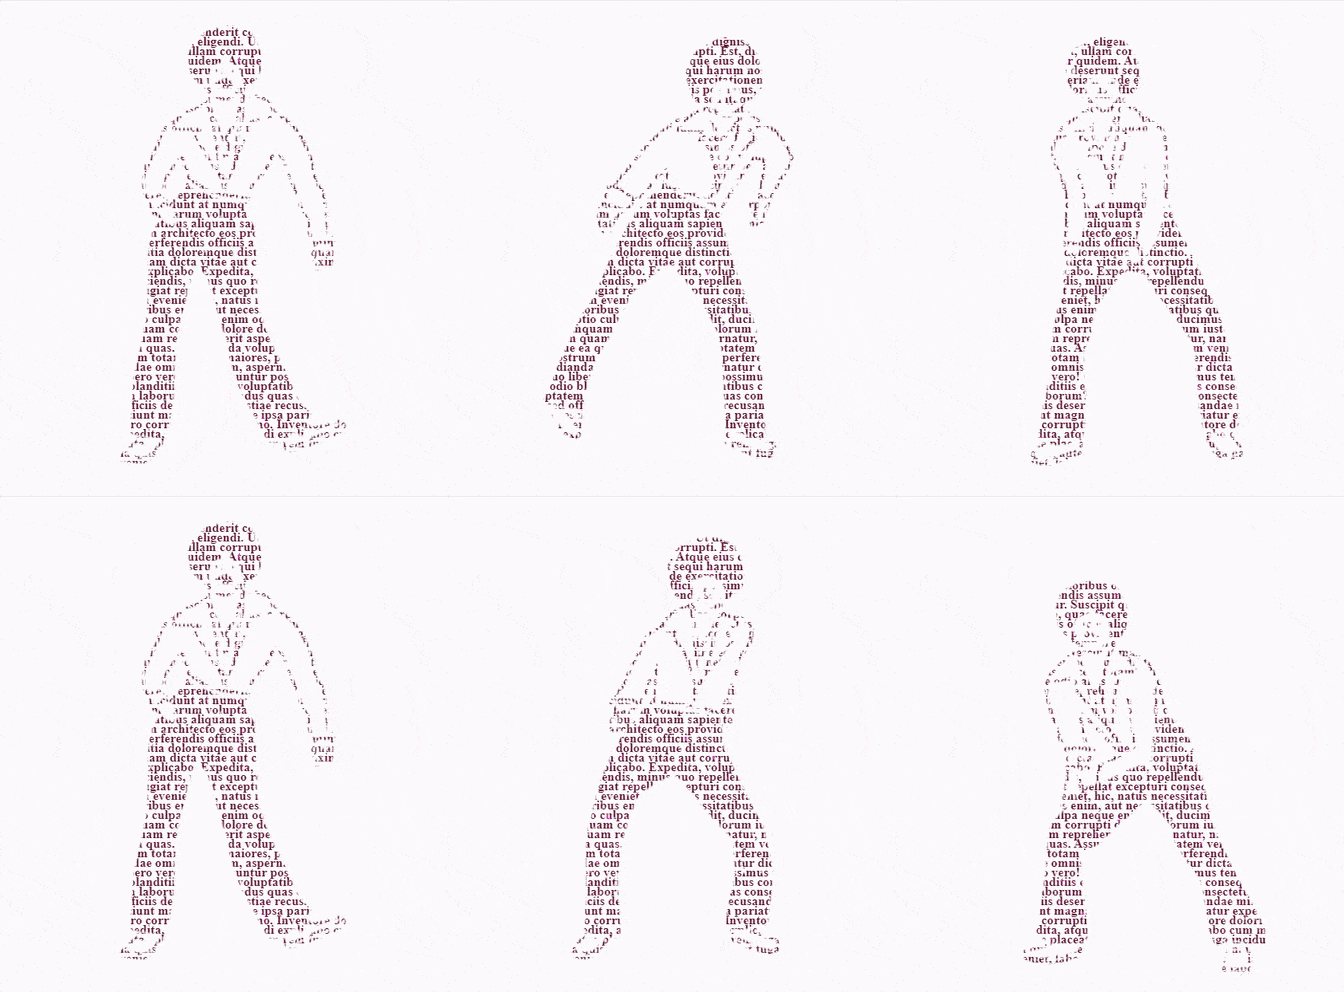
We should now have our GIF dancing and grooving on top of our wall of text.
Perfect. We’re just a few more lines of code away from wrapping up.
After we add this code below, you will see the magic happen. Thanks to a combination of ‘background-attachment‘, ‘background-clip‘ and ‘text-fill-color‘, we are able to attach our wall of text to the foreground of the GIF.
background-size: contain;

background-position: center;

background-attachment: fixed;

-webkit-background-clip: text;

-webkit-text-fill-color: rgba(255, 255, 255, 0) ;
By setting our text-fill-color to transparent, the text absorbs the colors of our GIF and jumps instantly into action.
Just so we can see what’s going on, lets change the background to something other than the default white in our body. Red, for example.


And there we are! If you’d like to dig into the code more, check out the CodePen here. Feel free to experiment with your own GIFs, images or whatever you can think of.
We’d love to see what you create. Tag us on twitter @designups and we’ll check it out!
Is your company ready to get creative? Let’s Talk!


